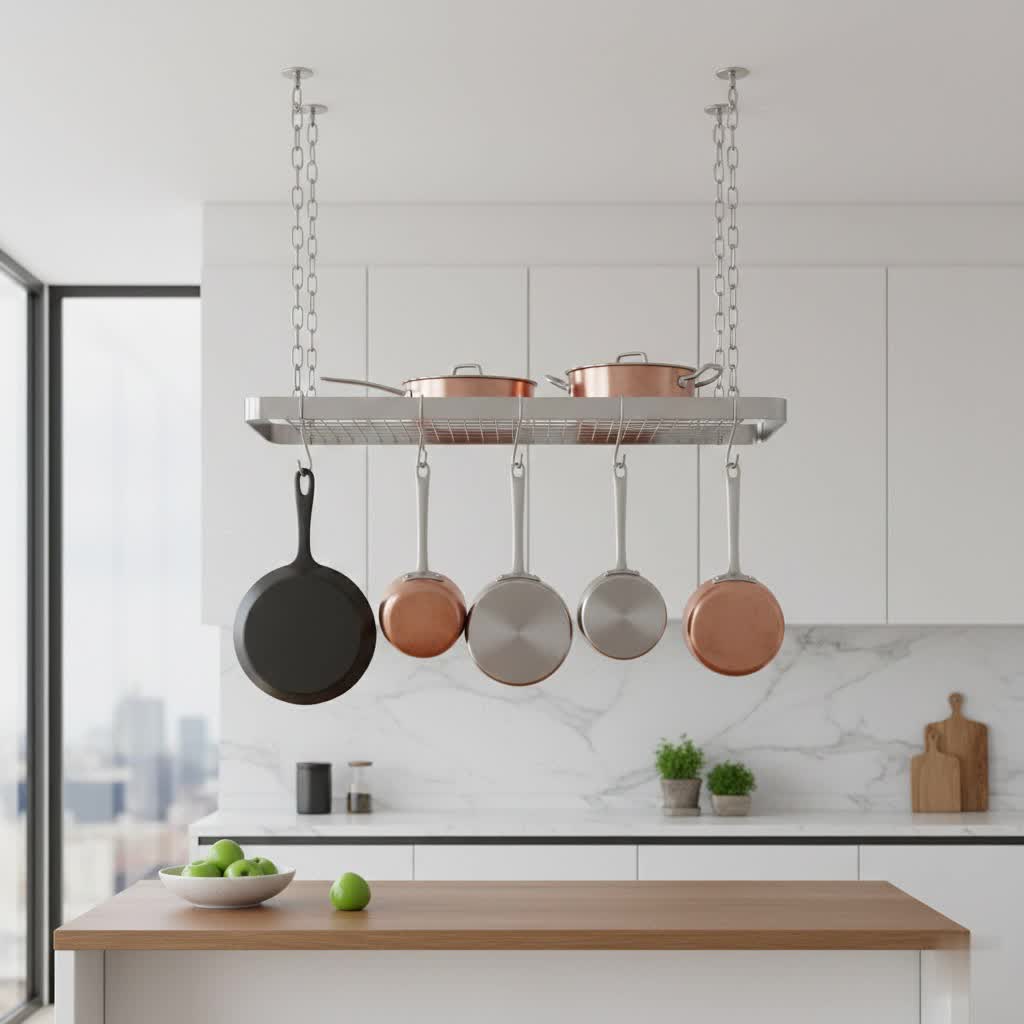
Dreaming of a kitchen where your favorite cookware hangs within easy reach, not crammed into cabinets? A heavy pot rack can be a game-changer, offering both practical storage and a stylish focal point. But when tackling this DIY project, especially with substantial cast iron or copper collections, it’s crucial to understand the nuances of a safe and secure installation. A seemingly minor oversight can lead to significant problems, from damaged ceilings to hazardous collapses. This guide will walk you through the most common pitfalls DIYers face and equip you with the knowledge to ensure your heavy pot rack is installed flawlessly, providing years of reliable service and kitchen elegance.
Why Avoiding Mistakes in Heavy Pot Rack Installation is Crucial
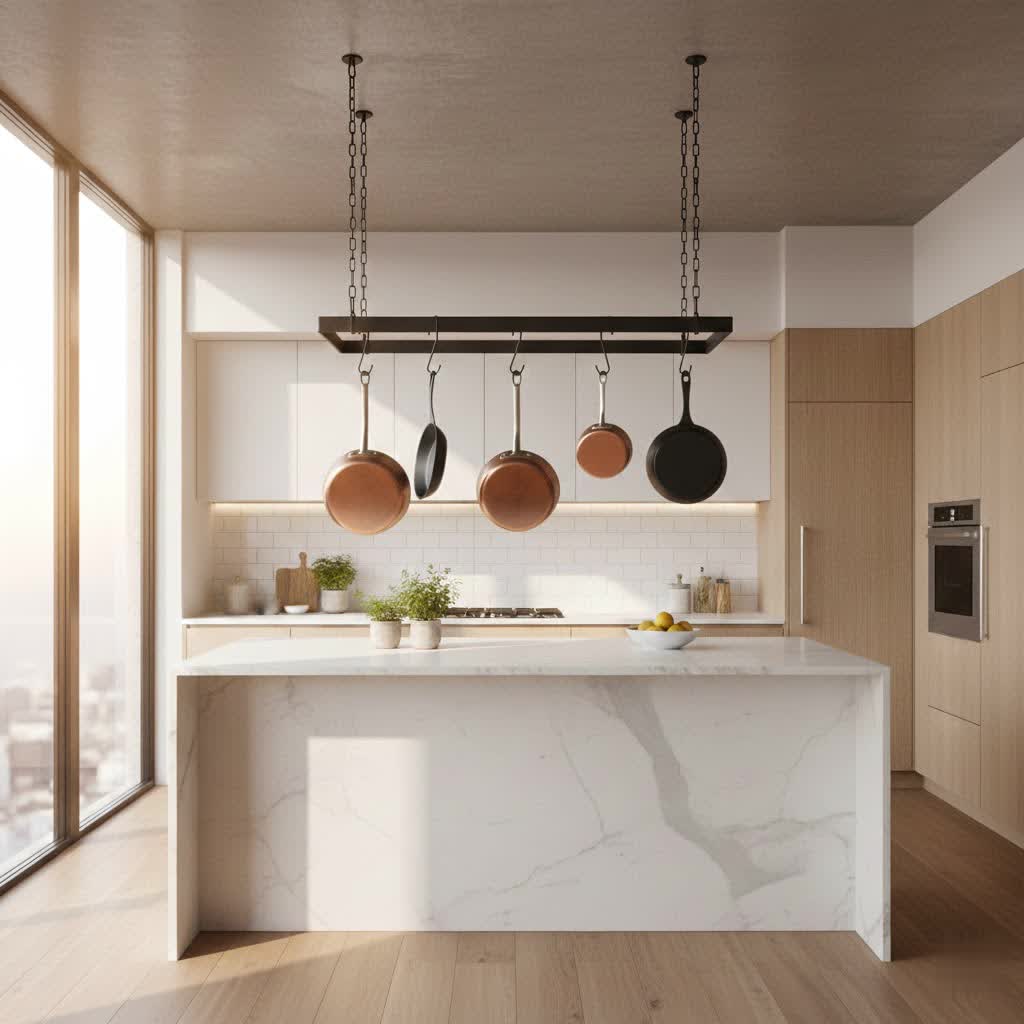
Installing a heavy pot rack is more than just hanging a decorative item; it’s about creating a robust, load-bearing structure in your kitchen. Overlooking critical steps or making assumptions can lead to a range of issues, primarily concerning safety and structural integrity. A poorly installed rack risks detaching from the ceiling or wall, potentially causing severe injury, extensive property damage, and ruining your valuable cookware. Beyond the immediate dangers, a wobbly or sagging rack detracts from your kitchen’s aesthetics and quickly loses its functional appeal. Proper installation ensures not only the safety of your home and family but also the longevity and stability of your pot rack, transforming clutter into a beautifully organized display.
Understanding Different Heavy Pot Rack Types and Their Installation Challenges
Pot racks come in various styles, each with its own set of installation requirements and potential DIY challenges. Understanding these distinctions is key to a successful project.
- Ceiling-Mounted Pot Racks: These are often the most dramatic and space-saving, freeing up counter and wall space. They hang from chains or rods, typically above a kitchen island or a spacious area. The primary challenge with ceiling mounts is the absolute necessity of anchoring into structural ceiling joists to support the significant weight of the rack and its contents. Drywall alone is insufficient for heavy loads and will fail.
- Wall-Mounted Pot Racks: Ideal for smaller kitchens or those without suitable ceiling joist placement, wall-mounted racks attach directly to a wall. These can range from simple bars with S-hooks to multi-tiered shelves. The main DIY hurdle here is ensuring you securely fasten the rack into wall studs. Like ceilings, drywall cannot support heavy pot racks without proper reinforcement.
- Corner Pot Racks: A specialized type, corner racks are designed to maximize unused corner space. Installation involves anchoring to both adjacent walls, often requiring careful stud finding on two planes.
Each type demands a thorough understanding of your home’s framing and the right hardware to prevent common DIY blunders.
Key Installation Considerations: A Comparison Table
| Feature | Ceiling-Mounted Pot Rack | Wall-Mounted Pot Rack |
|---|---|---|
| Structural Requirement | Must attach to ceiling joists. | Must attach to wall studs. |
| Weight Capacity | Generally higher (can support up to 200 lbs) | Moderate to high (up to 200 lbs depending on rack and mounting) |
| Space Utilization | Frees up wall and counter space, central display. | Frees up counter space, utilizes vertical wall space. |
| Common DIY Challenges | Locating joists, working overhead, determining safe hanging height. | Locating studs, ensuring level installation, accommodating wall features. |
| Ideal Location | Above kitchen islands, open spaces. | Near stove, prep areas, or unused wall sections. |
Essential Pre-Installation Steps: A DIYer’s Checklist
Before you even think about drilling, thorough preparation is paramount. Skipping these steps is a recipe for common installation mistakes.
- Assess Your Cookware: Begin by taking stock of your pots and pans. How many do you plan to hang? What are their dimensions and, most importantly, their combined weight? Cast iron cookware, for example, is significantly heavier than aluminum or stainless steel. Knowing the total weight will guide your choice of rack and mounting hardware.
- Measure Your Space: For ceiling racks, measure the available ceiling area, considering clearance above counters, islands, and walkways. You want the rack high enough to avoid head bumps but low enough for comfortable reach (approximately 42 inches above counter height is often recommended). For wall racks, measure the wall section you intend to use, ensuring it’s wide and tall enough for your chosen rack and cookware.
- Locate Structural Supports: This is perhaps the most critical step. For ceiling racks, you must locate ceiling joists. For wall racks, you need wall studs. Use a reliable stud finder to scan the area where you plan to install the rack. Joists and studs are typically spaced 16 or 24 inches on center. Mark their locations clearly. If you can’t find joists or studs exactly where you want the rack, you’ll need to adjust the placement or consider alternative heavy-duty anchoring solutions like toggle bolts for drywall, but only after carefully verifying their weight capacity.
- Choose the Right Pot Rack and Hardware: Select a pot rack whose weight capacity (when fully loaded with your cookware) aligns with the structural support you’ve identified. Ensure the included mounting hardware is appropriate for your specific ceiling or wall type. If not, purchase heavy-duty alternatives such as lag bolts for wood joists/studs or high-strength toggle bolts for drywall.
- Gather Your Tools: Have all necessary tools on hand before you start: a reliable stud finder, measuring tape, pencil, level, drill with appropriate bits, screwdriver, safety goggles, and a sturdy ladder.
Beyond the Rack: Hidden Costs and Smart Investments in DIY Installation
While the pot rack itself is a primary expense, a successful DIY installation of a heavy pot rack often involves a few additional, yet crucial, investments. These aren’t hidden costs as much as they are smart expenditures for safety, longevity, and ease of installation.
- A Quality Stud Finder: Investing in a reliable stud finder, especially one with deep-scan or multi-material detection capabilities, is non-negotiable. It’s your primary tool for accurately locating the hidden structural supports (joists or studs) that your heavy pot rack will depend on. A cheap, inaccurate model can lead to costly mistakes.
- Heavy-Duty Anchors and Fasteners: While many pot racks come with hardware, always verify its suitability for your specific ceiling or wall type and the combined weight. For heavy pot racks, you might need to purchase specialized lag bolts for wood joists/studs, or high-capacity toggle bolts for drywall applications where direct structural attachment isn’t possible. Don’t skimp here; the integrity of your installation rests on these components.
- Appropriate Drill Bits: Drilling into wood joists or dense drywall requires the correct drill bits. Having a set of sharp, high-quality wood and masonry bits (if dealing with brick or concrete) will make the job smoother and prevent stripped screws or damaged surfaces.
- A Sturdy Ladder: Working overhead safely is critical. A stable, appropriately sized ladder is essential. Ensure it can support both your weight and the tools you’ll be using without wobbling.
- Safety Gear: Safety goggles are a small but vital investment to protect your eyes from falling debris during drilling.
These investments might add a little to your initial budget, but they are insignificant compared to the cost of repairing structural damage or, worse, dealing with an injury caused by a failed pot rack installation.
The 5 Most Common DIY Mistakes When Installing a Heavy Pot Rack
Successfully installing a heavy pot rack demands precision and adherence to best practices. Many DIYers, however, fall prey to common mistakes that can compromise the rack’s stability and safety.
1. Ignoring Structural Support (The Drywall Disaster)
One of the gravest errors a DIYer can make is mounting a heavy pot rack directly into drywall without securing it to underlying structural supports. Drywall, while seemingly sturdy, is designed to be a surface material, not a load-bearing one. It simply cannot withstand the significant weight of a pot rack laden with cookware.
- Consequence: An installation relying solely on drywall will inevitably fail, often dramatically. The rack will pull away from the ceiling or wall, leaving large, unsightly holes and potentially causing property damage or severe injury to anyone nearby.
- Solution: Always locate and utilize ceiling joists for ceiling-mounted racks and wall studs for wall-mounted racks. Use a stud finder diligently and confirm the location of these supports. If the desired placement doesn’t align with a joist or stud, adjust your rack’s position or, as a last resort for lighter racks, use heavy-duty toggle bolts specifically rated for the total projected weight, ensuring they are designed for your ceiling’s thickness. Even then, directly anchoring into wood is always the strongest and safest option for heavy items.
|
Our Picks for the Best Pot rack in 2026
As an Amazon Associate I earn from qualifying purchases.
|
||
| Num | Product | Action |
|---|---|---|
| 1 | CHOEZON Pot Racks, 6-Tier Cookware Stand, Triangle Shelf Storage Tower for Kitchen, Pans Pots Storage Rack, Metal Wire Shelf Organizer, Corner Shelf, for Kitchen, Living Room, Black TPR15BB |

|
| 2 | HULISEN Pots and Pans Organizer Under Cabinet, Expandable 2-Tier Pots and Pans Lid Storage Rack Holder with 10 Dividers, Adjustable Height Under Sink Organizer, Maximize Kitchen Storage Space |
|
| 3 | MUDEELA Pots and Pans Organizer Rack under Cabinet 14.55in Height, 8-Tiers Adjustable Pot Rack with 3 DIY Methods, Pot Lid Organizer inside Cabinet for Kitchen Pantry Organization and Storage |
|
| 4 | ORDORA Pots and Pans Organizer: under Cabinet, 20.8" Height Heavy Duty 120LBS Pots Pans Organizer Rack for under Cabinet 8-Tier Adjustable for Big Stockpots, Dutch Oven, Cast-iron Pans, Heavy Cookware |
|
| 5 | VyGrow 28 Inch Pot Rack Wall Mounted, 2 Tier Pots and Pans Organizer with 20 Hooks and 6 Pot Lid Holders, Heavy Duty Steel Pot and Pan Hanger for Kitchen Cookware Utensils Storage 34.7" Lx13 Wx26.4 H |
|
| 6 | MUDEELA Pots and Pans Organizer Rack for under Cabinet, Expandable 11.81''-22.85'' Pot Lid Kitchen Cabinet Organizer Holder with 10 Adjustable Compartment Cutting Board Organizer for Pan Lid, Bakeware |
|
| 7 | CHOEZON Pots and Pans Organizer Rack, Kitchen Bakers Rack, Multi-Tier Storage Shelf, Kitchen Island Table, Cooking Rack with Pots and Pans Storage, Rustic Brown and Black TPR60BF |
|
| 8 | CHOEZON 31.7-Inch Hanging Pot Rack, Space-Saving Pot Hanger for Kitchen, Ceiling Pan Hanging Rack with 16 Detachable S Hooks, Sturdy Metal Frame, Industrial Style, Rustic Brown and Black TPR09BF |
|
| 9 | ORDORA Pots and Pans Organizer for Cabinet 16.61 Height, 8 Tier Pot Organizers Rack with 3 DIY Methods, Adjustable Pan Organizer under Cabinet Kitchen Organization and Storage |
|
| 10 | MUDEELA 8-Tier Pots and Pans Organizer under Cabinet, 15.83" Height Heavy Duty Pot Pan Organizer Kitchen Cabinet Organization and Storage, Adjustable Pot Rack for Frying Pan, Cast Iron Skillet, Black |
|
2. Underestimating Total Weight Capacity
It’s easy to consider only the weight of the pot rack itself, forgetting the substantial addition of a full set of pots and pans. Cast iron skillets, Dutch ovens, and heavy stainless steel pots can quickly accumulate significant poundage, far exceeding what a standard anchor or weak structural point can handle.
- Consequence: Overloading a pot rack leads to stress on the mounting points, eventually causing anchors to pull out or joists/studs to weaken. This results in a hazardous collapse. Many manufacturers specify a maximum load, sometimes as low as 40 pounds, while some robust systems can handle up to 200 pounds.
- Solution: Calculate the total weight: add the weight of the pot rack to the combined weight of all the pots and pans you intend to hang. Always choose a pot rack and mounting hardware with a weight capacity that significantly exceeds your calculated total. When in doubt, err on the side of caution and opt for higher-rated hardware. Regularly check your rack for signs of strain like creaking or wobbling.
3. Skipping Proper Location Planning
Impulsively choosing a spot for your pot rack can lead to functional inconveniences and aesthetic blunders. The ideal placement balances accessibility, safety, and visual appeal. Hanging it in the wrong place can be just as problematic as an unstable installation.
- Consequence: A pot rack hung too high will be difficult to reach, requiring a step stool every time you need a pan. Too low, and you risk bumping your head or obstructing your view. Placing it directly over the stove can lead to grease accumulation on your cookware, and blocking a window or a primary light fixture can diminish your kitchen’s ambiance.
- Solution: Plan your pot rack’s location carefully. Consider the workflow in your kitchen: where do you typically prep and cook? An island is a popular and practical choice. Ensure the rack is at a comfortable height for all users—around 42 inches above counter height is a good starting point. Check for overhead light fixtures, windows, and main pathways to avoid obstructions. Mark your desired spot and visualize it before drilling.
4. Using Incorrect Hardware or Techniques
The type of fastener and the method of installation must match your ceiling or wall material and the rack’s weight. Using the wrong screw or an improper drilling technique can severely compromise the installation.
- Consequence: Using standard screws into drywall, or insufficient anchors, will not hold a heavy load. Drilling pilot holes that are too small can split wood, while holes that are too large will prevent screws from gripping properly. Failing to tighten fasteners securely or, conversely, over-tightening them can weaken the connection points.
- Solution:
- For Wood Joists/Studs: Use sturdy lag bolts or wood screws specifically designed for heavy loads. Drill a pilot hole first, slightly smaller than the screw’s diameter, to prevent splitting the wood.
- For Drywall (no joist/stud available, for lighter loads): Employ heavy-duty toggle bolts, which expand behind the drywall to create a secure anchor. Ensure the toggle bolts are rated for the total weight and the drywall thickness.
- Installation Technique: Always drill straight pilot holes. Once fasteners are in place, tighten them securely until snug, but avoid over-tightening, which can strip screws or damage the material. For ceiling racks with multiple attachment points, ensure even tension on all chains or rods to distribute weight properly and prevent tilting.
5. Neglecting Stability Testing
After installation, the excitement of hanging your beautiful cookware can tempt you to skip the crucial final step: thoroughly testing the rack’s stability. This oversight can turn your pride into peril.
- Consequence: A rack that feels firm initially might have a weak point that gives way under a full load, leading to a sudden collapse. You won’t know until it’s too late.
- Solution: Never load the entire rack at once. Instead, apply gradual weight and observe. Start by gently tugging on the empty rack to check for any wobbling or movement. Then, hang one or two of your heaviest pots and wait a few minutes, observing for any sag or creaking sounds. If it holds, gradually add more cookware, distributing the weight evenly across the rack. Continue to monitor its stability over the first few days. If you notice any issues, immediately remove the cookware and reassess the installation points and hardware. Your vigilance here ensures lasting safety.
“A common misconception is that if it’s up, it’s safe. But a heavy pot rack needs more than just ‘up’—it needs unwavering stability, tested and proven, to truly be a safe and functional part of your kitchen.” – [Your Name/Role], Reviewhubn.com Admin
Conclusion
Installing a heavy pot rack can be an incredibly rewarding DIY project, transforming your kitchen into a more organized and aesthetically pleasing space. However, the key to its success and your safety lies in meticulously avoiding common mistakes. Remember to always prioritize robust structural support by anchoring into ceiling joists or wall studs, never underestimating the combined weight of your cookware, and planning your placement thoughtfully for optimal function and visual harmony. The right hardware and careful installation techniques are your best allies, culminating in a crucial stability test before your pot rack is fully loaded. By following these guidelines, you’ll not only enhance your kitchen’s utility but also create a safe, stylish storage solution that stands the test of time. Are you ready to confidently tackle your pot rack installation and unlock your kitchen’s full potential?
Frequently Asked Questions
What’s the maximum weight a typical pot rack can hold?
The maximum weight capacity for pot racks varies significantly by manufacturer and design, but many recommend keeping the total weight (rack plus cookware) under 200 pounds for safety, while some smaller racks might be rated for as little as 40 pounds. Always check the manufacturer’s specifications for your specific model and err on the side of caution.
Can I install a heavy pot rack in drywall if I can’t find a stud or joist?
While it’s strongly recommended to anchor heavy pot racks directly into ceiling joists or wall studs for maximum safety, if this is not possible, you must use heavy-duty toggle bolts or specialized drywall anchors that are specifically rated for the total weight of your rack and cookware. Never use standard drywall anchors for heavy items, as they are likely to fail.
How do I accurately find ceiling joists or wall studs for installation?
The most reliable method is to use an electronic stud finder, which will light up or beep when it detects a joist or stud behind the drywall. Alternatively, you can sometimes locate them by tapping the ceiling/wall and listening for a solid sound, or by looking for nail heads or electrical outlets which are often attached to studs.
What tools are essential for a DIY heavy pot rack installation?
You’ll need a stud finder, a tape measure, a pencil, a level, a drill with appropriate drill bits (for wood and potentially masonry if applicable), a screwdriver, and a sturdy ladder. Safety goggles are also highly recommended to protect your eyes from debris during drilling.
How high should I hang my ceiling-mounted pot rack?
A good rule of thumb is to hang your pot rack so that the bottom of your lowest hanging pot is approximately 42 inches above your kitchen counter or island surface. This height allows for comfortable reach without obstructing views or posing a head-bumping hazard. Adjust based on your height and the average height of your cookware.