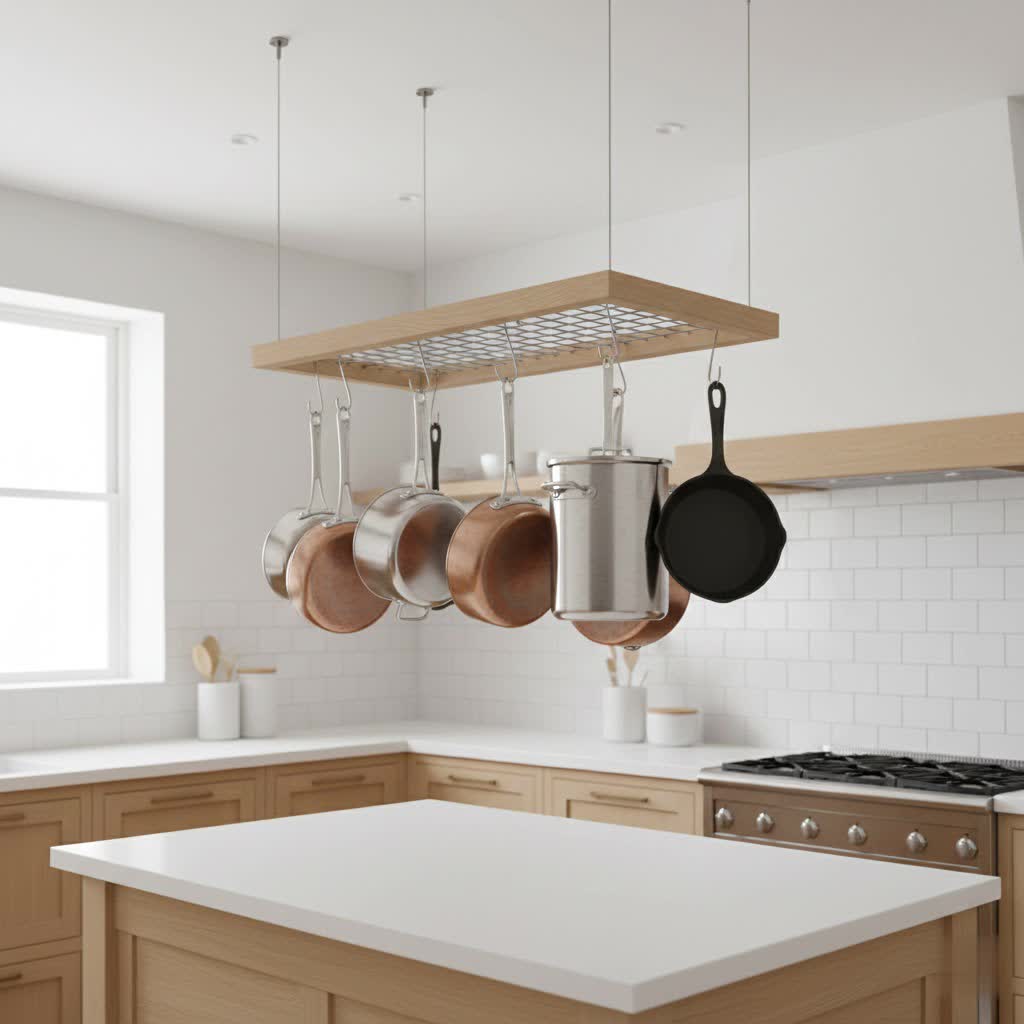
Is your old pot rack looking a bit tired, clashing with your updated kitchen aesthetic, or simply yearning for a fresh new lease on life? Giving your existing pot rack a fresh coat of paint is an incredibly rewarding and cost-effective DIY project. It’s a fantastic way to transform its appearance, seamlessly integrate it into your current decor, and even extend its lifespan, all while adding a personal touch to the heart of your home.
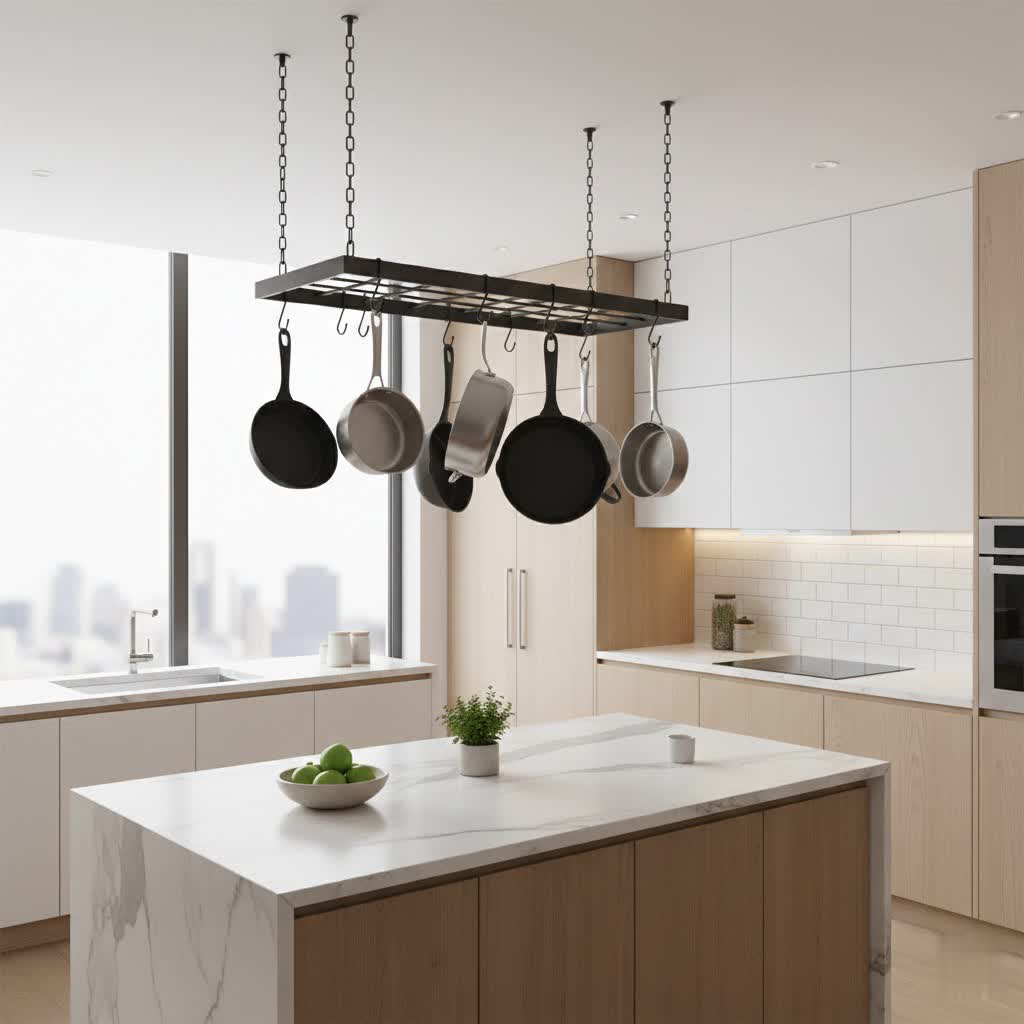
You might be surprised at how much a simple color change can impact the overall feel of your kitchen. Instead of investing in a brand-new pot rack, you can achieve a custom, high-end look with just a few supplies and a bit of elbow grease. Let’s dive into the process and uncover how to choose the right materials and techniques to ensure your newly painted pot rack becomes a stunning focal point.
Why You Need to Paint Your Old Pot Rack
An old pot rack, while functional, can quickly become an eyesore if its finish is chipped, faded, or simply out of step with your kitchen’s style. Painting offers numerous benefits beyond just aesthetics. It allows you to breathe new life into a sturdy piece that still serves its purpose, saving you money on a replacement. More importantly, it provides an opportunity for personalization, letting you perfectly match your pot rack to new cabinetry, appliances, or even a specific accent color in your decor. This simple update can dramatically elevate the entire kitchen’s appeal, turning a utilitarian item into a chic design element. Furthermore, a fresh coat of paint, especially with the right primer, can protect the metal from rust and wear, significantly extending the life of your beloved kitchen organizer.
Understanding Pot Rack Types and Materials for Painting
Pot racks come in various styles, and their original material will dictate the best approach for painting. Common types include:
- Ceiling-mounted pot racks: These are often the largest and can be a dramatic feature. They are typically made of wrought iron, steel, or occasionally wood. Their size means more surface area to paint, and they need to be disassembled and painted off-site.
- Wall-mounted pot racks: Ideal for smaller kitchens, these racks save space and are usually made from metal. They are easier to remove and paint.
- Freestanding pot racks: These offer flexibility and are commonly made of various metals or wood. Their portability makes them convenient for painting in a well-ventilated area.
- Corner pot racks: Designed to maximize corner space, these are usually metal and present unique angles for painting.
The material of your pot rack is the most critical factor when planning your painting project. Metal racks, such as wrought iron, cast iron, stainless steel, or aluminum, will require specific primers and paints designed for adhesion and durability on these surfaces. Wooden racks, on the other hand, will need wood-specific primers and paints. Identifying your pot rack’s material is the first step towards a successful paint job.
Comparing Different Pot Rack Materials for Painting
Choosing the right approach depends heavily on the material of your pot rack. Here’s a comparison to guide your painting strategy:
| Feature | Wrought Iron & Cast Iron | Stainless Steel | Aluminum | Wood |
|---|---|---|---|---|
| Pros for Painting | Holds paint well, classic look | Smooth surface for paint | Lightweight, easy to handle | Natural grain, versatile |
| Cons for Painting | Prone to rust, heavy | Can be difficult to etch | May require specialized primer | Can chip/dent, absorbs paint |
| Required Prep | Thorough cleaning, rust removal, sanding | Degreasing, light sanding | Cleaning, light sanding | Cleaning, sanding, filling |
| Best Primer | Rust-inhibiting metal primer | Etching primer for metal | Self-etching or universal metal primer | Wood primer |
| Topcoat Type | Oil-based enamel, metal spray paint | Epoxy or enamel metal paint | Exterior-grade metal paint | Enamel, acrylic, chalk paint |
| Durability | Excellent with proper prep | Very good | Good | Good with proper sealing |
Guide to Painting Your Old Pot Rack: A Step-by-Step Makeover
Transforming your pot rack is a straightforward process, but proper preparation and technique are paramount for a lasting, professional finish. Follow these steps for a successful DIY project.
1. Gather Your Supplies
Before you begin, ensure you have all the necessary tools and materials:
- Safety Gear: Gloves, safety glasses, and a respirator mask (especially if spray painting).
- Cleaning Supplies: Mild detergent, water, scrubbing brush, rags, degreaser (like rubbing alcohol or mineral spirits).
- Sanding Supplies: Various grits of sandpaper (e.g., 80-grit for rough spots, 150-grit for general sanding, 220-grit for a smooth finish) or a wire brush for rust.
- Primer: Rust-inhibiting primer for metal, or wood primer for wooden racks.
- Paint: High-quality metal-specific enamel, spray paint, or multi-surface paint in your desired color and finish.
- Applicators: Paint brushes for detailed areas, spray paint cans, or a small roller for flatter surfaces.
- Protection: Drop cloths, painter’s tape to protect surfaces you don’t want to paint.
- Optional: Clear protective topcoat/sealant.
|
Our Picks for the Best Pot rack in 2026
As an Amazon Associate I earn from qualifying purchases.
|
||
| Num | Product | Action |
|---|---|---|
| 1 | MUDEELA 8-Tier Pots and Pans Organizer under Cabinet, 15.83" Height Heavy Duty Pot Pan Organizer Kitchen Cabinet Organization and Storage, Adjustable Pot Rack for Frying Pan, Cast Iron Skillet, Black |

|
| 2 | CHOEZON Pot Racks, 6-Tier Cookware Stand, Triangle Shelf Storage Tower for Kitchen, Pans Pots Storage Rack, Metal Wire Shelf Organizer, Corner Shelf, for Kitchen, Living Room, Black TPR15BB |
|
| 3 | HULISEN Pots and Pans Organizer Under Cabinet, Expandable 2-Tier Pots and Pans Lid Storage Rack Holder with 10 Dividers, Adjustable Height Under Sink Organizer, Maximize Kitchen Storage Space |
|
| 4 | MUDEELA Pots and Pans Organizer Rack under Cabinet 14.55in Height, 8-Tiers Adjustable Pot Rack with 3 DIY Methods, Pot Lid Organizer inside Cabinet for Kitchen Pantry Organization and Storage |
|
| 5 | VyGrow 28 Inch Pot Rack Wall Mounted, 2 Tier Pots and Pans Organizer with 20 Hooks and 6 Pot Lid Holders, Heavy Duty Steel Pot and Pan Hanger for Kitchen Cookware Utensils Storage 34.7" Lx13 Wx26.4 H |
|
| 6 | ORDORA Pots and Pans Organizer: under Cabinet, 20.8" Height Heavy Duty 120LBS Pots Pans Organizer Rack for under Cabinet 8-Tier Adjustable for Big Stockpots, Dutch Oven, Cast-iron Pans, Heavy Cookware |
|
| 7 | MUDEELA Pots and Pans Organizer Rack for under Cabinet, Expandable 11.81''-22.85'' Pot Lid Kitchen Cabinet Organizer Holder with 10 Adjustable Compartment Cutting Board Organizer for Pan Lid, Bakeware |
|
| 8 | ORDORA Pots and Pans Organizer for Cabinet 16.61 Height, 8 Tier Pot Organizers Rack with 3 DIY Methods, Adjustable Pan Organizer under Cabinet Kitchen Organization and Storage |
|
| 9 | CHOEZON 31.7-Inch Hanging Pot Rack, Space-Saving Pot Hanger for Kitchen, Ceiling Pan Hanging Rack with 16 Detachable S Hooks, Sturdy Metal Frame, Industrial Style, Rustic Brown and Black TPR09BF |
|
| 10 | CHOEZON Pots and Pans Organizer Rack, Kitchen Bakers Rack, Multi-Tier Storage Shelf, Kitchen Island Table, Cooking Rack with Pots and Pans Storage, Rustic Brown and Black TPR60BF |
|
2. Prepare Your Workspace
Choose a well-ventilated area, preferably outdoors or in a garage with open windows, to avoid inhaling paint fumes. Lay down drop cloths to protect your floors and surrounding areas from overspray or drips. If possible, cover any nearby objects.
3. Disassemble and Clean the Pot Rack
Carefully remove the pot rack from its ceiling or wall mounts. If it has removable hooks or decorative elements, take them apart to ensure you can reach every surface.
Thoroughly clean the entire pot rack with warm, soapy water and a scrubbing brush to remove grease, grime, and food residue. For stubborn grease, follow up with a degreaser like rubbing alcohol. Rinse well and allow it to dry completely. Any lingering moisture can hinder paint adhesion and lead to bubbling or peeling.
4. Sand and Prep the Surface
This is a critical step for paint adhesion.
- For metal racks: Use a wire brush or coarse sandpaper (80-grit) to remove any loose paint, rust, or corrosion. Once major imperfections are gone, sand the entire surface with a medium-grit sandpaper (150-grit) to create a slightly rough texture, which helps the primer adhere. Finish with a fine-grit sandpaper (220-grit) for a smoother finish. Wipe away all sanding dust with a clean, damp cloth and let it dry.
- For wooden racks: Lightly sand the entire surface with medium-grit sandpaper (150-grit) to rough up the existing finish. Fill any holes or cracks with wood filler, sand smooth once dry, and then wipe away dust.
5. Apply Primer
Apply a thin, even coat of the appropriate primer for your material. For metal racks, a rust-inhibiting metal primer is essential to prevent future corrosion and ensure paint adhesion, especially if there was any rust. For wooden racks, use a wood primer.
Allow the primer to dry completely according to the manufacturer’s instructions. Applying light coats is key to avoiding drips and ensuring even coverage. If the original finish was very dark or uneven, a second coat of primer might be beneficial.
6. Paint the Pot Rack
Once the primer is dry, it’s time for the color!
- Using spray paint: Hold the can about 8-12 inches away from the surface and apply multiple light, even coats rather than one thick coat. Overloading the spray can lead to drips and an uneven finish. Allow adequate drying time between coats (usually 15-30 minutes for spray paint, check the can for specific instructions).
- Using a brush or roller: Apply paint in smooth, even strokes. Work in sections, ensuring full coverage. Again, multiple thin coats are better than one thick one. Lightly sand between coats with very fine-grit sandpaper (e.g., 400-grit) if you want an exceptionally smooth finish, then wipe clean before the next coat.
Continue applying coats until you achieve your desired opacity and finish.
7. Apply a Topcoat (Optional, but Recommended)
For added durability, especially in a high-traffic area like a kitchen, consider applying a clear protective topcoat or sealant once the final paint coat has fully cured. This will protect your new finish from scratches, chips, and moisture. Choose a topcoat that is compatible with your paint type and designed for kitchen environments.
8. Cure Time and Reassembly
Allow the painted pot rack to cure fully before reassembling and hanging it back in your kitchen. “Dry to the touch” doesn’t mean “fully cured.” Full curing can take anywhere from 24 hours to several days or even weeks, depending on the paint type and environmental conditions. Refer to your paint’s instructions for exact curing times. Reassembling too early can cause smudges or damage to the fresh paint.
The Cost of Painting a Pot Rack
The cost of painting an old pot rack is significantly less than purchasing a new one, making it an attractive option for budget-conscious renovators.
- Budget-Friendly (Under $30): This typically involves using basic cleaning supplies, a single can of all-in-one primer+paint spray paint, and sandpaper you might already have. This is suitable for smaller racks or those in good condition.
- Mid-Range ($30 – $70): This allows for higher-quality products, such as a dedicated rust-inhibiting primer, a premium metal-specific paint (either spray or brush-on), better quality sandpaper, and possibly a clear protective topcoat. This range offers better durability and a more professional finish.
- Higher-End (Over $70): While still far cheaper than a new rack, this might include specialty paints (e.g., a specific color match, heat-resistant options), advanced cleaning agents, specialized brushes, or multiple types of topcoats for maximum protection and a flawless look.
The overall investment is minimal for the visual impact and longevity you gain.
Top Tips for a Flawless Pot Rack Paint Job
Achieving a professional-looking finish requires attention to detail and smart product choices. Here are some key recommendations:
- Rust-Inhibiting Primers: For any metal pot rack, especially older ones, a high-quality rust-inhibiting primer is non-negotiable. It creates a barrier against future corrosion and provides an ideal surface for the topcoat to adhere to, ensuring longevity.
- Durable Metal Spray Paints: When painting intricate designs or reaching tight corners, spray paint offers unparalleled ease and a smooth, even finish. Look for “direct-to-metal” or “appliance epoxy” formulas for superior durability and a hard-wearing surface suitable for a kitchen environment.
- Enamel Paints for Kitchens: Enamel paints create a tough, glossy, or satin finish that is highly resistant to moisture, stains, and wear, making them perfect for kitchen items. They are easy to clean and maintain their vibrancy over time.
- Protective Topcoats: A clear sealant, such as a polycrylic or epoxy clear coat, adds an extra layer of protection against chips, scratches, and the humidity common in kitchens. This is especially beneficial for high-use pot racks.
- Proper Sanding & Cleaning Technique: No paint will adhere well to a dirty or slick surface. Thorough cleaning, degreasing, and sanding to create a “tooth” for the paint are the foundational steps for any successful painting project. Don’t skip these critical preparation stages.
Conclusion
Repainting an old pot rack is more than just a DIY task; it’s an opportunity to infuse your kitchen with renewed style and personality. By carefully preparing the surface, selecting the right primer and paint for your material, and applying thin, even coats, you can transform a neglected piece into a stunning, functional element that perfectly complements your home’s decor. This simple upgrade not only saves money but also provides immense satisfaction in crafting a custom look tailored to your taste. So, why let a dated pot rack diminish your kitchen’s charm when a vibrant refresh is just a few steps away? What color will you choose to make your pot rack shine?
Frequently Asked Questions
Is it safe to paint a pot rack that holds cookware?
Yes, it is safe to paint a pot rack, provided you use paints and primers that are non-toxic once fully cured. Many modern metal and enamel paints are formulated to be safe for household items. Always allow the paint to fully cure and off-gas in a well-ventilated area before hanging cookware, as recommended by the paint manufacturer.
How do I prevent rust from reappearing after painting my metal pot rack?
To prevent rust, thoroughly remove all existing rust by sanding or using a wire brush before painting. Then, apply a high-quality rust-inhibiting primer specifically designed for metal. Finally, use a durable, moisture-resistant topcoat, such as an oil-based enamel or appliance epoxy, to create a protective barrier.
Can I paint a pot rack without taking it down?
While it’s possible to paint a pot rack while it’s still mounted, it is highly recommended to take it down. Removing it allows for complete access to all surfaces, ensures an even application, prevents drips onto kitchen surfaces, and allows for proper preparation like sanding and cleaning in a well-ventilated area.
What kind of paint finish is best for a kitchen pot rack?
For a kitchen pot rack, durable finishes like semi-gloss, satin, or gloss are generally recommended. These finishes are easier to clean and resist moisture better than matte finishes. Enamel paints or appliance epoxy paints are excellent choices for their hardness and resistance to wear and tear.
How long does the paint on a pot rack last?
The lifespan of the paint on a pot rack depends on the quality of the paint, the thoroughness of the preparation, and the amount of wear and tear it receives. With proper preparation, high-quality primer and paint, and an optional topcoat, your painted pot rack can maintain its fresh look for many years. Regular cleaning and gentle handling will also extend its life.