Stepping into a well-organized kitchen feels like a breath of fresh air, especially when every pot and pan has its rightful place. As someone who has spent over a decade immersed in kitchen equipment, particularly the art of pot racks, I understand the desire for both functionality and aesthetic appeal. Hanging your cookware on a pot rack is a fantastic way to achieve this, transforming clutter into a statement. But before you reach for those S-hooks, the most crucial first step is to thoughtfully declutter your existing collection. This isn’t just about making space; it’s about curating a selection that genuinely serves your cooking needs and brings joy to your culinary endeavors.
Why Decluttering Your Cookware Is Essential Before Hanging
Imagine a kitchen where every piece of cookware is easy to find, always ready for its next task. This dream becomes a reality when you embrace decluttering before introducing a pot rack.
- Free Up Valuable Kitchen Space: Cookware, especially bulky pots and pans, can quickly consume precious cabinet and drawer space. Decluttering means you only keep what you truly use, freeing up room for other essentials or simply enjoying a less crowded environment.
- Enhance Accessibility and Efficiency: When you have fewer, well-chosen items, finding the right pan for the job is instant. No more rummaging through stacks or battling precarious towers. A decluttered collection on a pot rack makes cooking a seamless experience.
- Improve Kitchen Aesthetics: A pot rack can be a beautiful focal point, but not if it’s burdened with rusty, mismatched, or rarely used items. Decluttering allows you to showcase your best pieces, contributing to a cleaner, more intentional kitchen design.
- Ensure Safety and Longevity of Cookware: Stacking pans without protection can lead to scratches and damage. Removing excess and organizing your core collection properly helps preserve their condition, especially for delicate nonstick surfaces or seasoned cast iron. Hanging prevents this damage entirely.
The Grand Cookware Purge: A Step-by-Step Decluttering Process
Ready to transform your kitchen? This systematic approach will guide you through decluttering your cookware, ensuring you’re left with a collection perfectly suited for hanging.
Step 1: Empty Everything Out
|
Our Picks for the Best Pot rack in 2026
As an Amazon Associate I earn from qualifying purchases.
|
||
| Num | Product | Action |
|---|---|---|
| 1 | ORDORA Pots and Pans Organizer: under Cabinet, 20.8" Height Heavy Duty 120LBS Pots Pans Organizer Rack for under Cabinet 8-Tier Adjustable for Big Stockpots, Dutch Oven, Cast-iron Pans, Heavy Cookware |

|
| 2 | CHOEZON Pot Racks, 6-Tier Cookware Stand, Triangle Shelf Storage Tower for Kitchen, Pans Pots Storage Rack, Metal Wire Shelf Organizer, Corner Shelf, for Kitchen, Living Room, Black TPR15BB |
|
| 3 | HULISEN Pots and Pans Organizer Under Cabinet, Expandable 2-Tier Pots and Pans Lid Storage Rack Holder with 10 Dividers, Adjustable Height Under Sink Organizer, Maximize Kitchen Storage Space |
|
| 4 | ORDORA Pots and Pans Organizer for Cabinet 16.61 Height, 8 Tier Pot Organizers Rack with 3 DIY Methods, Adjustable Pan Organizer under Cabinet Kitchen Organization and Storage |
|
| 5 | CHOEZON Pots and Pans Organizer Rack, Kitchen Bakers Rack, Multi-Tier Storage Shelf, Kitchen Island Table, Cooking Rack with Pots and Pans Storage, Rustic Brown and Black TPR60BF |
|
| 6 | MUDEELA Pots and Pans Organizer Rack for under Cabinet, Expandable 11.81''-22.85'' Pot Lid Kitchen Cabinet Organizer Holder with 10 Adjustable Compartment Cutting Board Organizer for Pan Lid, Bakeware |
|
| 7 | VyGrow 28 Inch Pot Rack Wall Mounted, 2 Tier Pots and Pans Organizer with 20 Hooks and 6 Pot Lid Holders, Heavy Duty Steel Pot and Pan Hanger for Kitchen Cookware Utensils Storage 34.7" Lx13 Wx26.4 H |
|
| 8 | MUDEELA Pots and Pans Organizer Rack under Cabinet 14.55in Height, 8-Tiers Adjustable Pot Rack with 3 DIY Methods, Pot Lid Organizer inside Cabinet for Kitchen Pantry Organization and Storage |
|
| 9 | MUDEELA 8-Tier Pots and Pans Organizer under Cabinet, 15.83" Height Heavy Duty Pot Pan Organizer Kitchen Cabinet Organization and Storage, Adjustable Pot Rack for Frying Pan, Cast Iron Skillet, Black |
|
| 10 | CHOEZON 31.7-Inch Hanging Pot Rack, Space-Saving Pot Hanger for Kitchen, Ceiling Pan Hanging Rack with 16 Detachable S Hooks, Sturdy Metal Frame, Industrial Style, Rustic Brown and Black TPR09BF |
|
The first and most vital step is to remove every single pot, pan, lid, and baking sheet from your cabinets, drawers, and existing storage spots. Lay them out on your counter, dining table, or even the floor. Seeing your entire collection laid bare can be quite revealing, often highlighting just how much you’ve accumulated. While everything is out, take a moment to wipe down the empty shelves and drawers – it’s a small step that makes a big difference to the overall freshness of your kitchen.
Step 2: Categorize and Assess
Once everything is visible, group like items together. Put all your frying pans in one area, saucepans in another, stockpots, baking sheets, and lids in their respective piles. This visual grouping helps you quickly identify duplicates or items that serve similar purposes.
Next, consider the “Three Box Method” (or simply three designated areas):
- Keep: For items you frequently use and love.
- Donate/Recycle: For cookware in good condition that you no longer need or use.
- Discard: For items that are damaged, unsafe, or beyond repair.
Step 3: Ruthlessly Edit – What to Keep and What to Let Go Of
This is where the real work happens. Approach each item with a critical eye, asking yourself honest questions about its utility and condition.
When to Keep Cookware: The Essentials
When building a core collection, focus on versatility, durability, and personal preference.
- High-quality, frequently used pieces: These are your workhorses – the pans you reach for daily.
- Versatile items: A good Dutch oven can double as a stock pot and slow cooker. A well-seasoned cast-iron skillet can handle everything from searing to baking.
- Cookware in excellent condition: Pieces that are well-maintained and free from damage.
- Items that bring you joy and facilitate cooking: If a particular pan makes cooking more enjoyable, it earns its spot.
“A well-curated cookware collection is less about quantity and more about quality and versatility. Focus on pieces that truly serve your cooking style.”
When to Let Go: Signs It’s Time to Retire Your Cookware
Don’t hold onto cookware out of obligation or sentimentality if it’s no longer performing safely or effectively.
- Damaged Nonstick Coatings: If the nonstick coating is flaking, deeply scratched, or bubbling, it’s time to let it go. Damaged coatings can release harmful chemicals into your food and lose their nonstick properties, making cooking a frustrating experience.
- Warped or Uneven Bases: A warped pan won’t sit flat on your stovetop, leading to uneven heat distribution and potentially burnt food. On a flat-top stove, this can even be a safety hazard.
- Excessive Rust or Pitting: While a little surface rust on cast iron can often be cleaned, widespread rust or pitting on stainless steel or aluminum can affect food quality and be a sign of deterioration.
- Loose or Broken Handles: Any cookware with a wobbly, cracked, or broken handle is a significant safety risk. It’s not worth the danger of a spill or burn.
- Duplication and Infrequent Use: Do you have three frying pans of the same size, but only ever use one? Or a specialty pot you’ve used twice in five years? Apply the “one-year rule”: if you haven’t used it in the past year (excluding very seasonal items), it’s likely a candidate for donation.
- Mystery Materials: Older nonstick or ceramic cookware, especially those thrifted or inherited without clear material descriptions, might contain outdated coatings or even lead. When in doubt, it’s best to discard them for safety.
Step 4: Prepare Your Curated Collection for Hanging
Once you’ve made your tough decisions, give your keepers a thorough cleaning. For cast iron, re-season if necessary. Ensure all pieces are sparkling clean and dry. Now, consider your lids. Many pot racks are designed for pans, but lids can be tricky. You might hang a few frequently used lids with their corresponding pans, or invest in separate lid organizers for cabinets or pantry doors to keep them accessible but out of the way.
Choosing the Perfect Pot Rack for Your Decluttered Collection
With a lean, efficient cookware collection ready, you can now confidently choose the best pot rack to display and organize them.
Types of Pot Racks
- Ceiling-Mounted Racks: These are fantastic for larger kitchens with ample ceiling height. They maximize vertical space and can support heavier cookware like Dutch ovens and cast iron skillets when properly installed. They often become a striking design element.
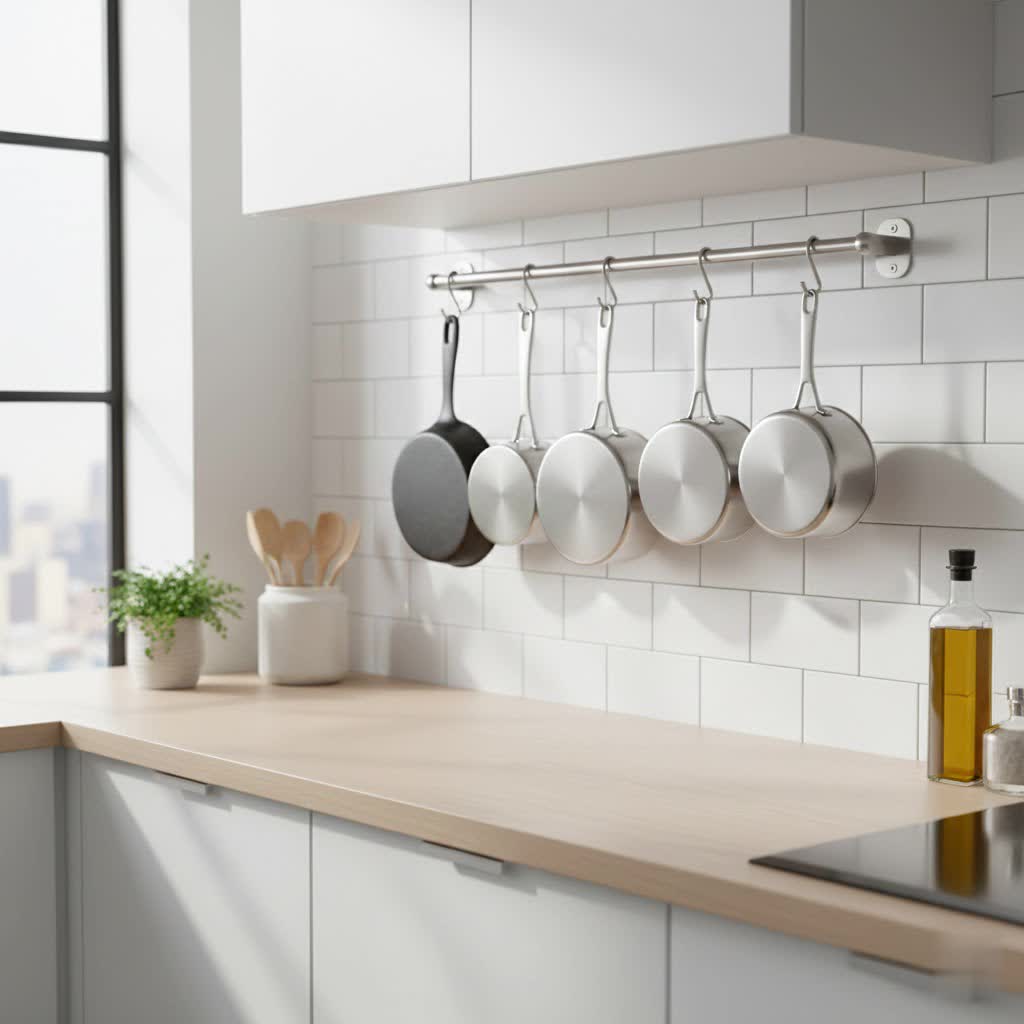
- Wall-Mounted Racks: Ideal for smaller kitchens or when ceiling space is limited. Wall-mounted racks offer a space-saving solution, keeping your most-used items within easy reach and adding a decorative touch.
- Pegboards: A highly customizable and flexible option. Pegboards allow you to arrange hooks and shelves to perfectly fit your specific cookware, and you can easily change the layout as your needs evolve. They can be painted to match your kitchen’s aesthetic.
Installation Considerations for Pot Racks
Proper installation is key to both safety and functionality.
- Weight Distribution for Safety: Heavy cast iron or copper pieces should be hung closer to the center or the most secure points of the rack. Always ensure the rack is securely anchored into ceiling joists or wall studs. For ceiling racks, consulting a contractor for heavy loads is always a good idea.
- Placement: Avoid hanging a pot rack directly over your stove, as this can lead to grease buildup on your pans, making them perpetually dirty. Instead, consider placing it over a kitchen island, a less-used counter space, or a dedicated wall. Ensure there’s enough head clearance so you don’t bump into your cookware.
- Using S-hooks Effectively: S-hooks are your best friends for hanging. Stagger them at different heights to allow cookware to overlap neatly without feeling cluttered. This allows for maximum storage in a compact area.
Maintaining Your Minimalist Cookware Collection
Decluttering is not a one-time event but a continuous process.
- Daily Habits: The simplest maintenance rule is to return each pot and pan to its designated spot on the rack after cleaning. This prevents new clutter from accumulating.
- Regular Re-evaluation: Periodically, perhaps once or twice a year, take a quick look at your hanging collection. Are you still using everything? Is anything showing signs of wear that warrants replacement? A quick check ensures your system remains efficient and beautiful.
Conclusion
Decluttering your cookware before hanging it on a pot rack is a transformative step for any kitchen. By thoughtfully removing excess and choosing to keep only the best, most functional pieces, you not only create more space but also enhance the efficiency and aesthetic appeal of your cooking area. Your pot rack will no longer just be a storage solution; it will be a display of your curated, essential tools, ready for every culinary adventure.
So, are you ready to embrace a more organized and inspiring kitchen? Start your cookware purge today and enjoy the clarity and convenience that a decluttered, perfectly hung collection brings!
Frequently Asked Questions
How often should I declutter my cookware?
It’s a good practice to reassess your cookware collection at least once a year. This helps you identify items that are no longer in good condition, rarely used, or have become redundant, keeping your kitchen consistently organized and efficient.
Can I recycle old nonstick pans?
Recycling guidelines for nonstick pans vary by municipality due to their specialized coatings. Generally, they cannot be placed in standard curbside recycling bins. Some scrap metal facilities may accept them, or you might need to dispose of them as general waste. Check with your local recycling center for specific instructions.
What are the absolute essential pots and pans for a minimalist kitchen?
For a truly minimalist kitchen, consider a quality Dutch oven (for soups, stews, and braises), a versatile cast-iron skillet (for searing and frying), a stainless steel saucepan (for sauces and grains), and possibly a small nonstick skillet for delicate foods like eggs. Sheet pans are also indispensable for baking and roasting.